Chapter 3.1
Upload and activate the required plugins
Upload and activate MBOS, Bookly, Jetpack CRM, Mail Campaigns, and the required Jetpack CRM extensions.
Navigate: WordPress Dashboard → Plugins → Add Plugin / Installed Plugins
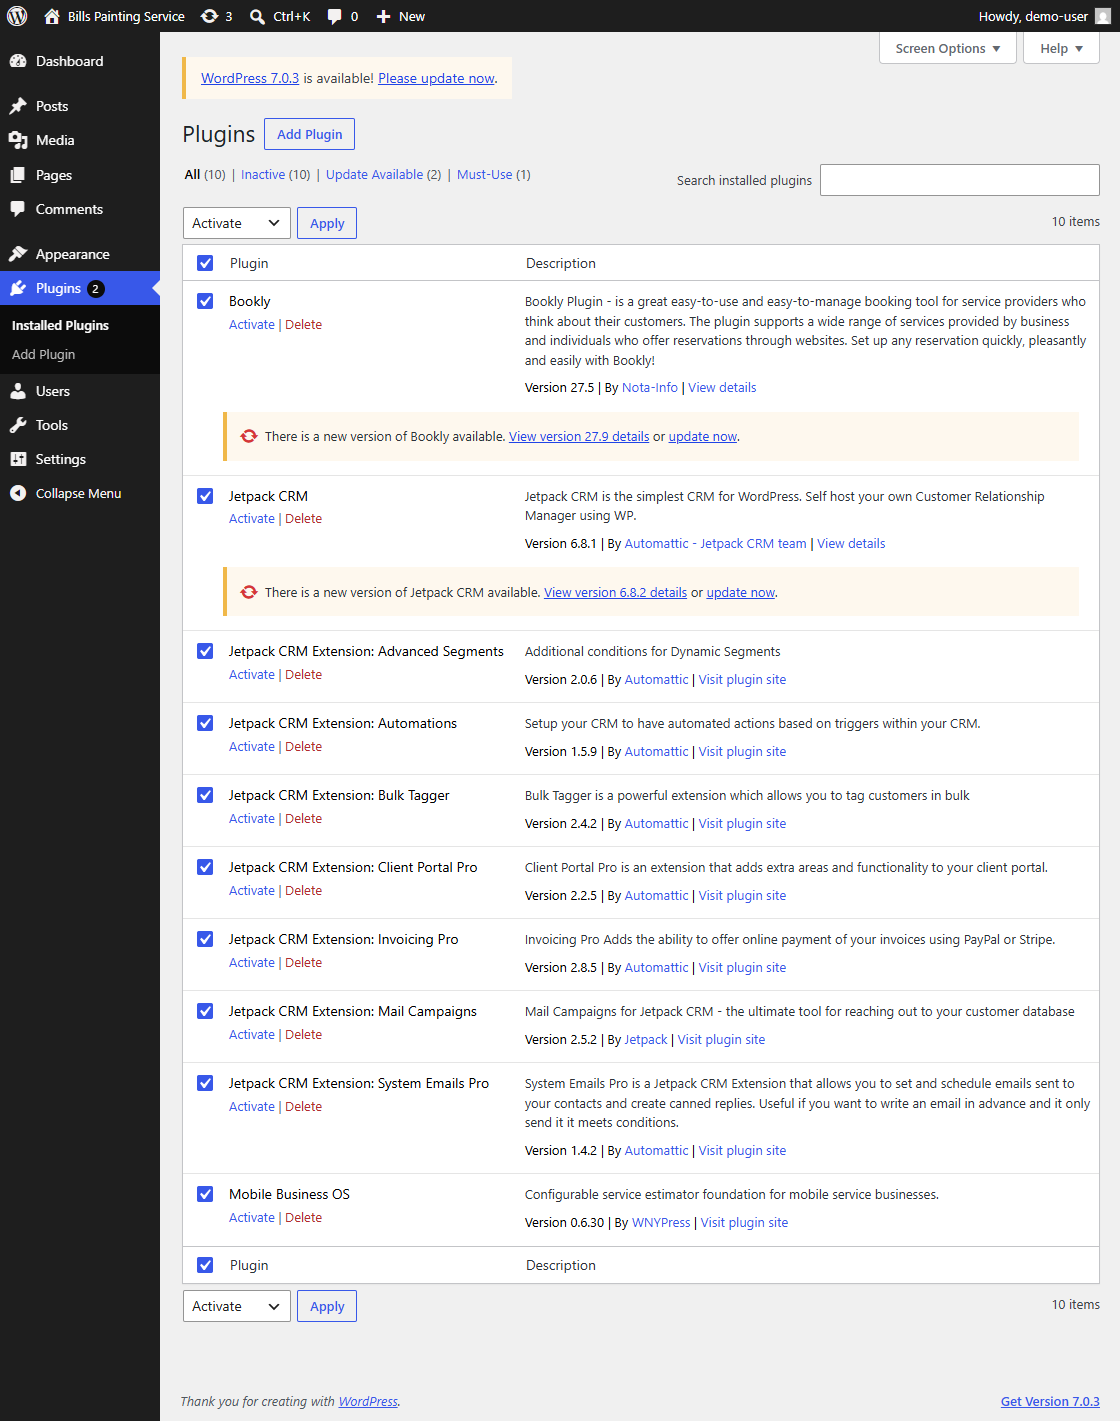
What does this control?
These plugins provide scheduling, customer management, email campaigns, invoicing, automations, and the MBOS operating layer.
How do I complete it?
- Upload each supplied plugin ZIP from Plugins → Add Plugin → Upload Plugin.
- After each upload, select Activate Plugin.
- Open Plugins → Installed Plugins.
- Confirm that every required plugin listed in this article is present and active.
Required plugins
- Bookly
- Jetpack CRM
- Jetpack CRM Extension: Advanced Segments
- Jetpack CRM Extension: Automations
- Jetpack CRM Extension: Bulk Tagger
- Jetpack CRM Extension: Client Portal Pro
- Jetpack CRM Extension: Invoicing Pro
- Jetpack CRM Extension: Mail Campaigns
- Jetpack CRM Extension: System Emails Pro
- Mobile Business OS
Why is this useful?
The first-run setup screens and MBOS Seed Engine depend on these plugins being installed and active.
How do I verify it?
- Each required plugin shows a Deactivate link rather than Activate.
- No required plugin reports an activation error.
Important:
- The screenshot shows the required plugins selected before bulk activation. Plugin version numbers may be newer than those shown.